
In our house, stuffed animals are called pets. Unfortunately for my boys, I am severely allergic to all furry animals so we don’t have any of the real ones. Though I honestly think they prefer the pretend variety anyway. It’s fun to observe the games and plots they come up with their eclectic cast of characters. But all too often, the pets are just in the way. I wanted a way to keep the stuffed toys picked up, while keeping them easily accessible for nighttime snuggling or daytime playing.
I hunted around the house for some supplies and inspiration. I found some kids fabric that I’d bought a few years ago that I’d intended to turn into some pillows for their room. Oh well. And I had some removable sticky wall hooks above Nate’s bed that were in an awkward spot now that we had moved his bed to a new position. I started to formulate a plan around hanging the fabric from those hooks. While hunting around in the hardware drawer to see if I had any more sticky backs for the hooks ( I did as well as 2 extra hooks), I found some metal rings. Not sure why we had them, but clearly not being used.
So, here’s what you need:
- Fabric – at least 1 yard of 45″ fabric. You could go more if you want a bigger hammock or need to stretch it across a wider space.
- 2 metal rings, about 1.5-2 inch diameter (like a key ring only a bit bigger). You can easily find at craft stores.
- 2 wall hooks. You can use the screw in type if you don’t mind holes in the walls, or you can use the peel and stick ones like I did.
And here’s how I did it:
- Optional – hem the edges of fabric. I’ll probably need to do this at some point to prevent fraying when the fabric gets washed. But have I mentioned that I’m lazy? I just wanted to get his done.
- Fold fabric in half the long way. If you’re using 1 yard of fabric, the folded piece will measure 45″ long by 18# high.
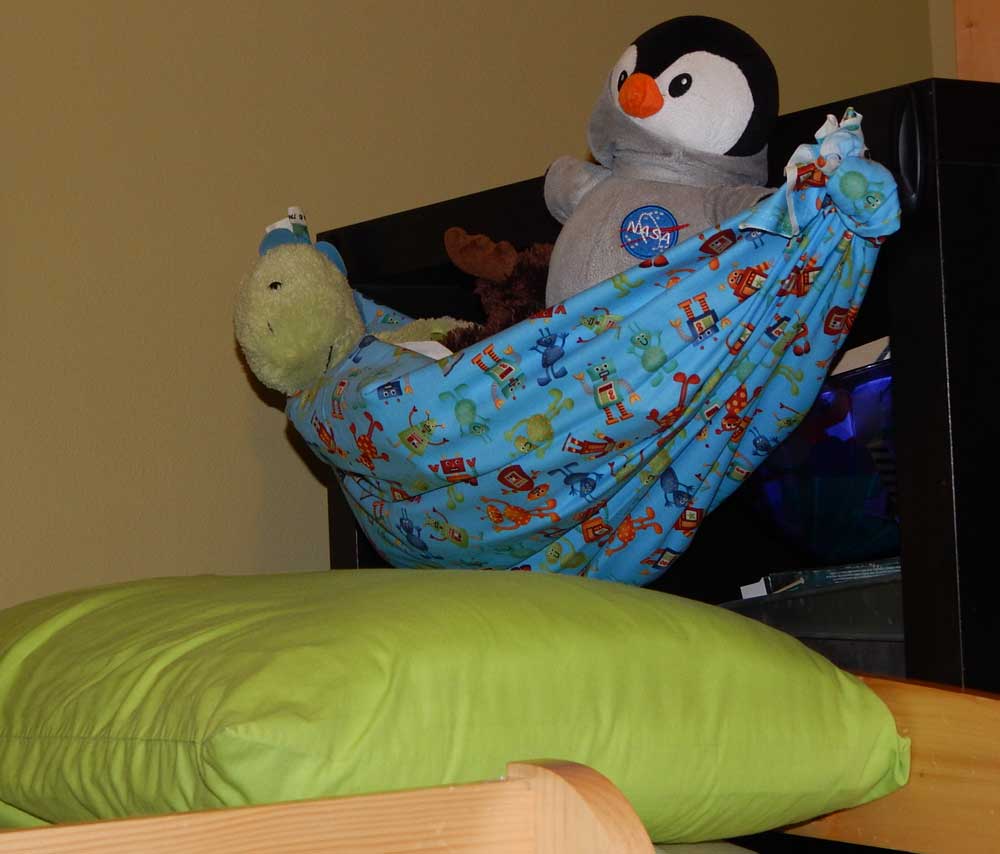
- Gather one side of the folded fabric and insert into one of the rings. Tie a knot with the fabric around the ring until snug.
- Repeat on the other side.
- Attach hooks, to wall, head board, bookcase, etc.
- Hang the rings on the hooks.
- Insert pets.
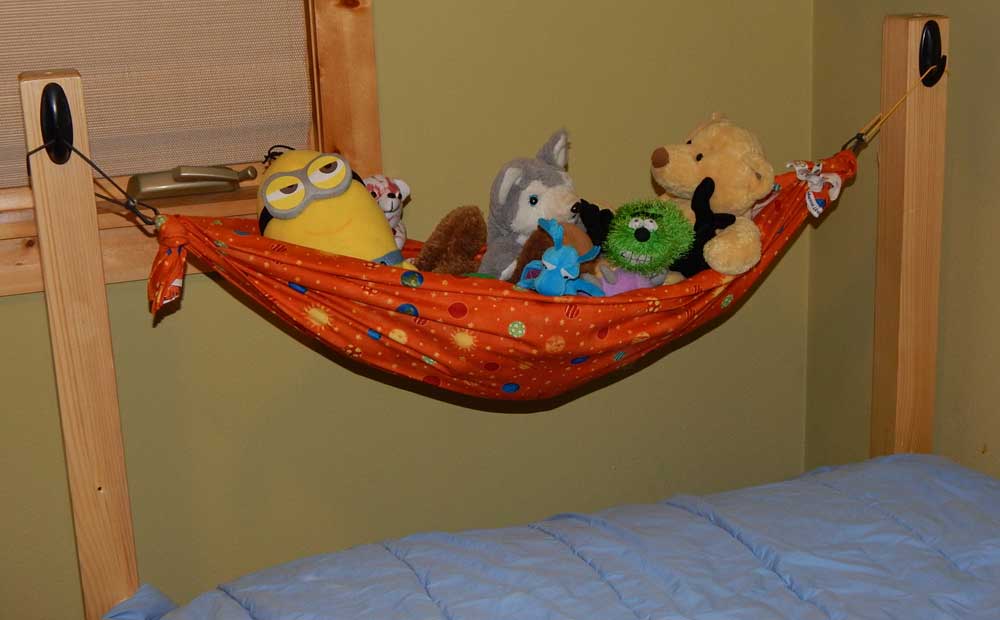
For one kid, I wanted to attach the hammock to the posts at the base of his bed. But it turned out the fabric I had was not long enough. So I improvised with a few small stretchy cords I found in our junk drawer. They are like mini bungy cords. It doesn’t look as nice, but it’s functional. My kids loved them, so that’s what counts, right?